Welcome to 🍅 GARDEN NOTES 🥬
A gardener lite logbook of weekly learnings & findings as I tend to my garden this season. Receiving guidance primarily from my elders; my neighbor, mother-in-law, grandparents, and greenhouse friend. Secondary resources are the Old Farmer’s Almanac and Google.
Logbook:
Week 1: Garden prep (you’re here.)
WEEK 1 | MAY 14 – MAY 28, 2023
I’m growing a garden with River to teach her how to take care of living things, observe growth cycles, and connect deeply with our food & the land. It’s also for me to build upon what my grandmothers taught me in their gardens of my childhood, what they passed on to my mom. These learnings aren’t passed down linearly so much as they are a communal sharing amongst all of us, through the years while we were doing other things, just waiting for the knowledge to be held with fervor again.
Our plot of land is covered in oaks, maples, bunnies, & squirrels so it’s a struggle to successfully grow food in our yard. When our neighbor offered two of his raised bed to me this summer, I was so excited to begin!
Raised beds soil prep
My neighbor prepped his soil mid-May so we followed suit with his methods on our two borrowed beds; every few days we’d drop off eggshells from breakfast, grinding and raking them into last season’s soil. The week before planting, I added our used coffee grounds and organic compost manure.
I was getting antsy to plant when picking out lumber supplies for building the window boxes and seeing all the plants in the garden center. My neighbor gently suggested I hold off until the last frost. He plants on Memorial Weekend so we did the same. It’s a good thing too, because we got two nights of unexpected frost the day before that Friday of Memorial!
Lesson 1: Add egg shells, used coffee grounds, and compost manure to your soil to add nutrients before planting veggies.
Lesson 2: Wait until after the last frost of the season to begin planting veggies outside. Memorial Weekend is usually a safe bet.
Window boxes (x4)
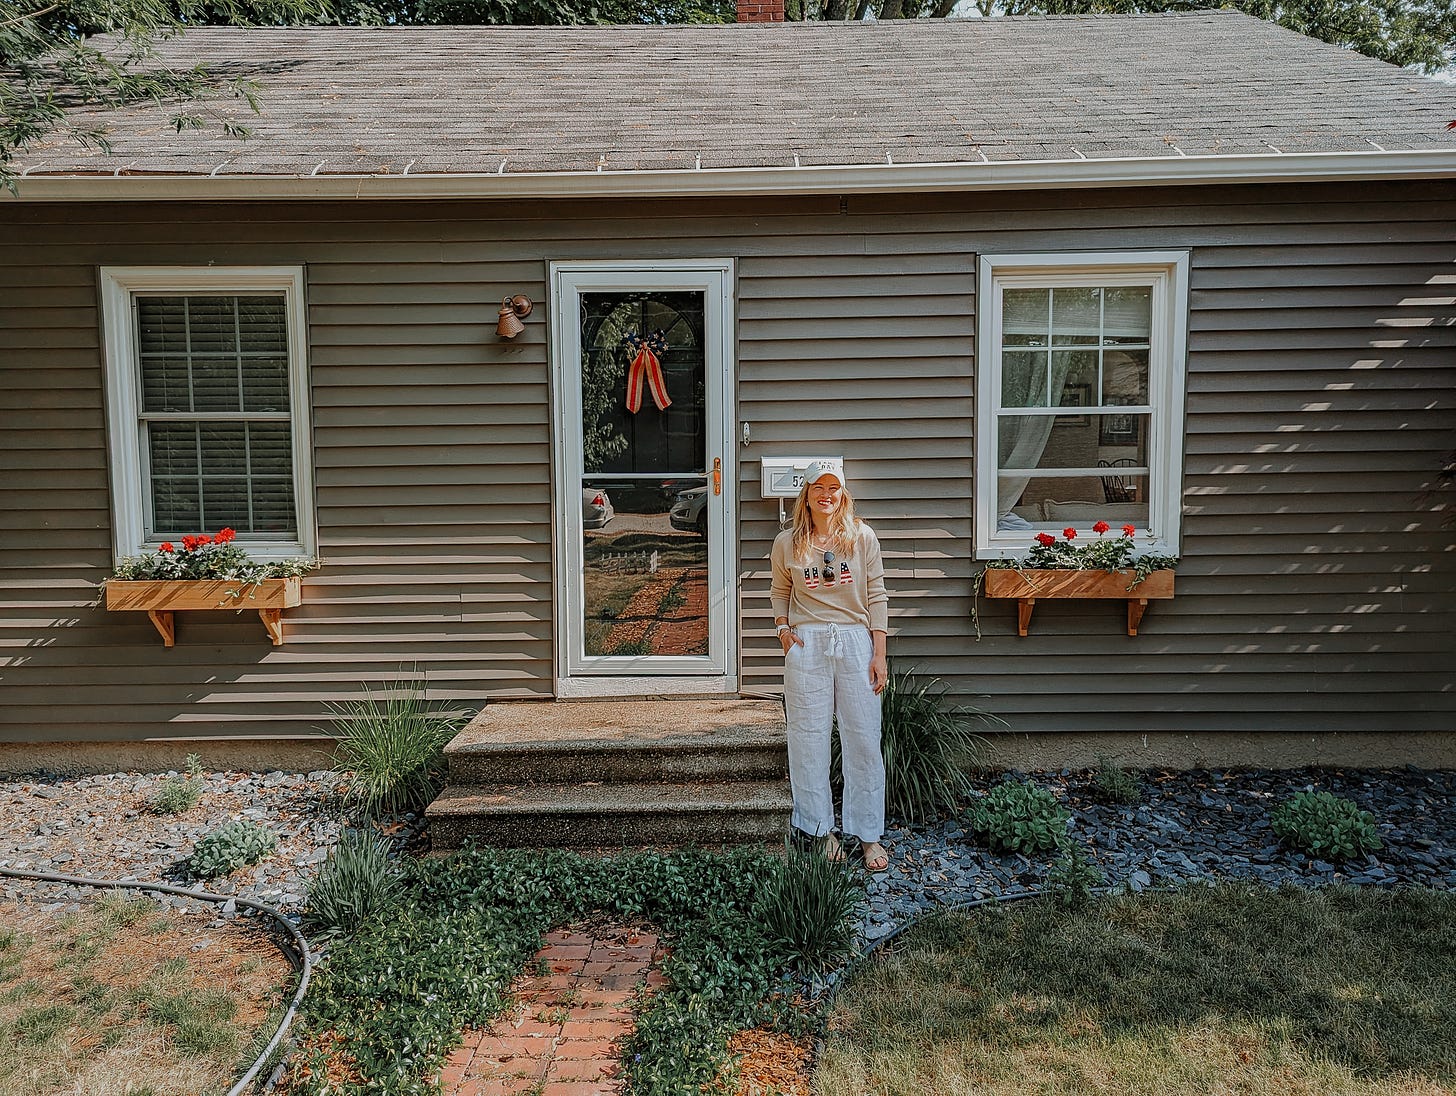
This year I wanted to add flower boxes to our house. We removed old shutters and painted the house a dark charcoal a few years ago. While it was a nice refresh, the removal of the shutters & the thorny bushes beneath the window flattened the poor little house. Enter: window boxes. depth! color!
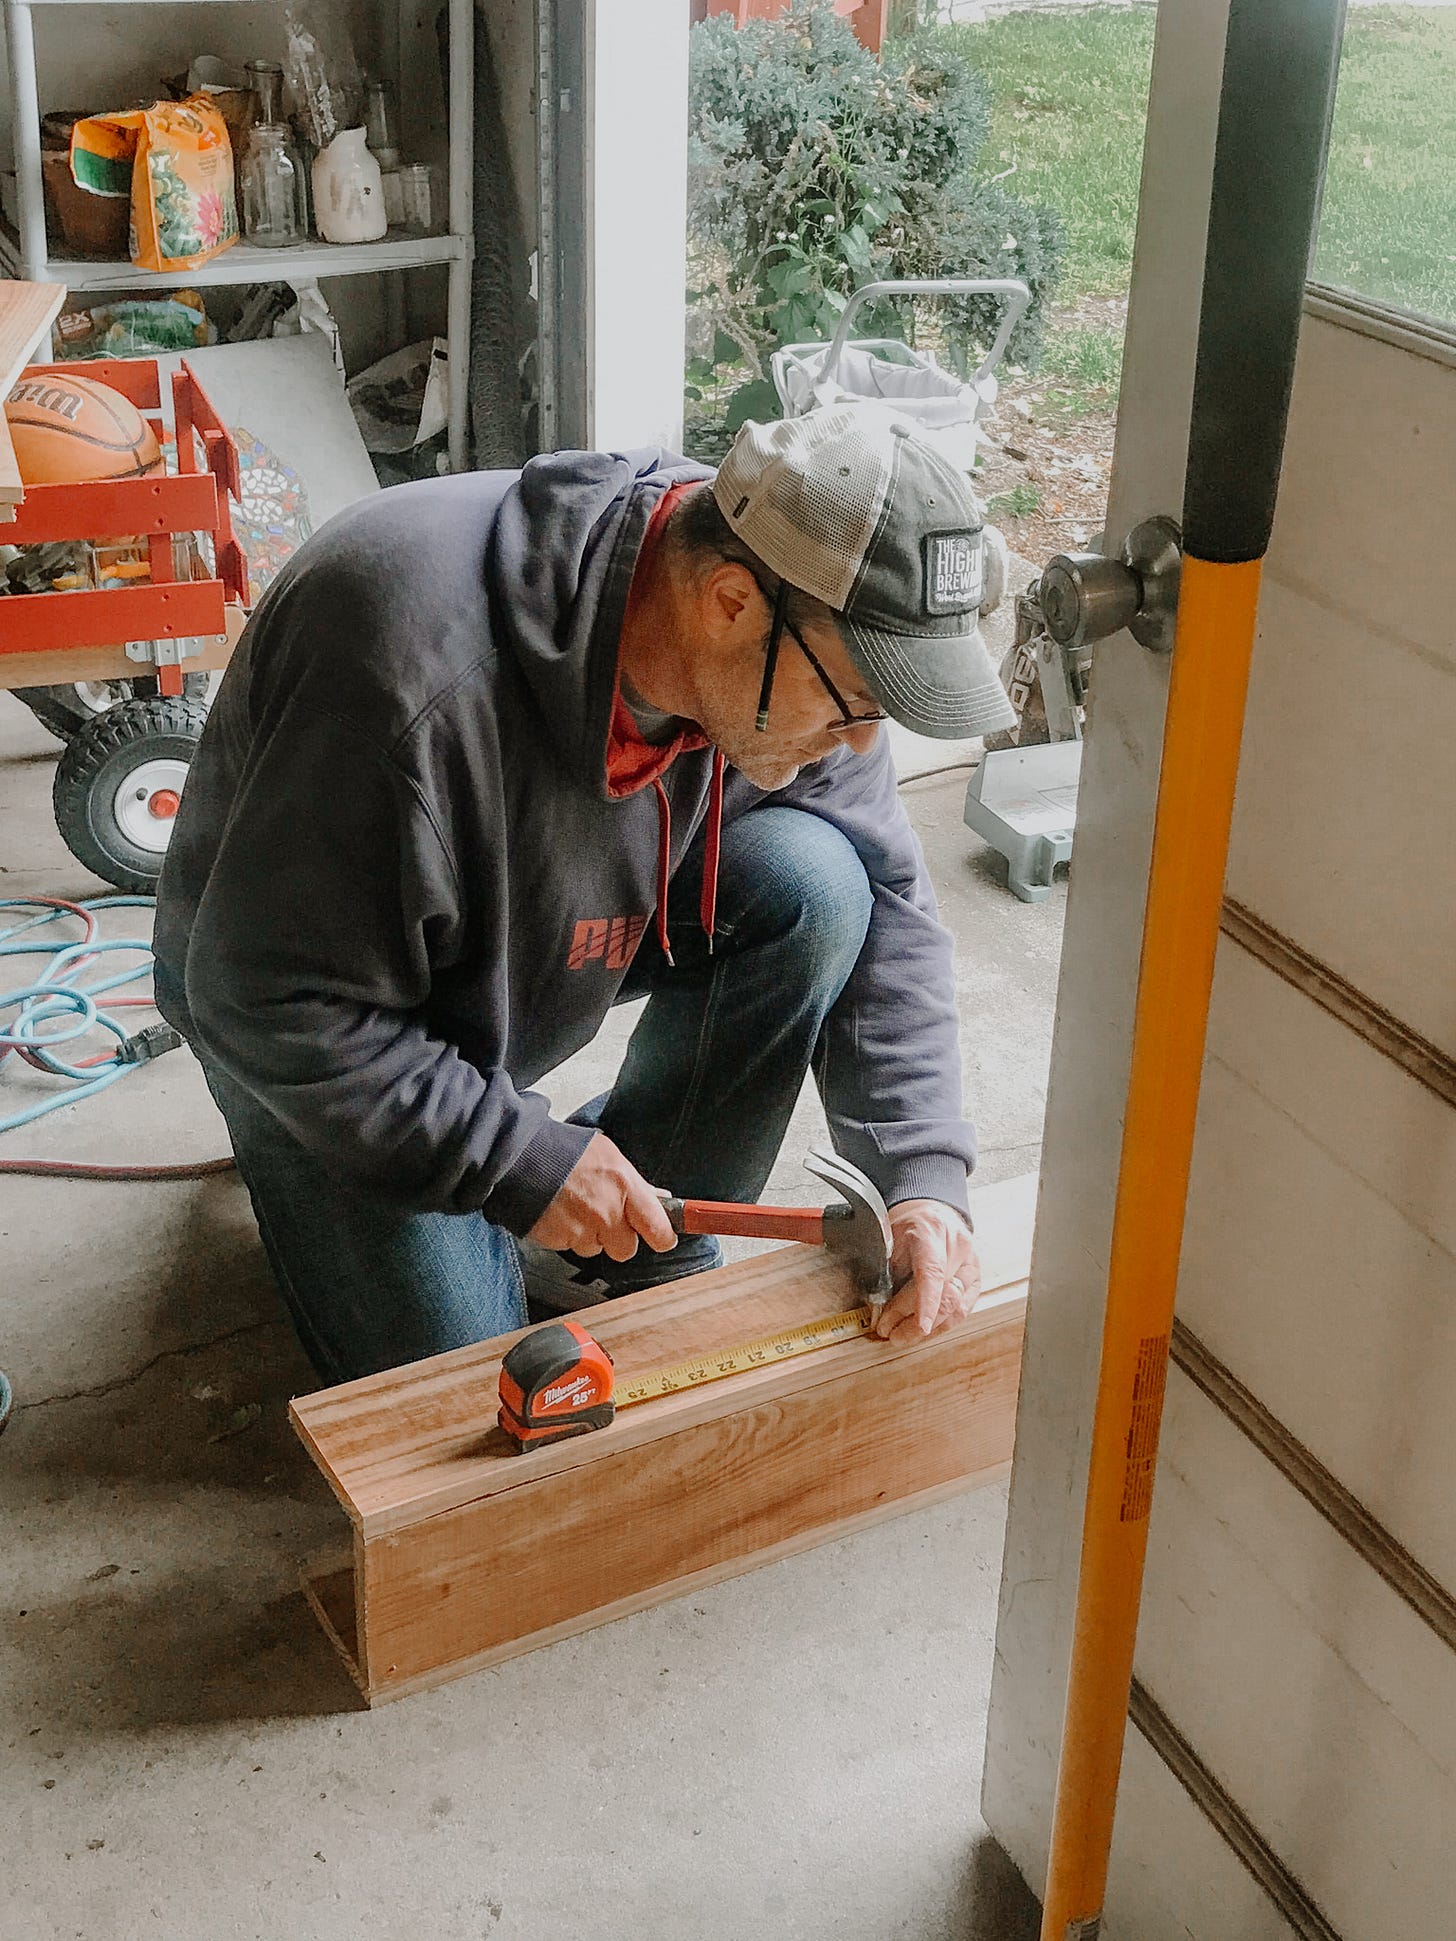
I asked my Dad to help me build them because (1) he built flower boxes for their house 20yrs ago and they’re still holding up (2) I knew he’d make sure we’d complete the project.

I chose treated cedar for the flower boxes because I like the warm caramel color with the deep charcoal exterior of our home. There were a few older men at Home Depot who shared their opinions about my selection as River played with carpenter pencils on the lumber cart. I was grateful for their unsolicited advice — like how you have to wait a year before painting cedar so it can acclimate with the weather & to lay my boards flat so they could dry out flat as not to bow.
Lesson 1: wait a full year before painting or sealing treated cedar.
Lesson 2: if lumber is wet, lay them flat to dry without bowing.

CHALLENGES
Determining the depth of the window boxes
• We ultimately chose 6” depth for the boxes because 8” would’ve been too wide when thinking about the size of our single-story home.
Box inserts to protect cedar from daily watering
• I went to 3 different stores seeking inserts. From plastic inserts to coco liner to rolled coco liner and none of them worked. I laid down cardboard in the bottom and drilled drainage holes in both the box and cardboard pieces.
• We should’ve found inserts for the window boxes FIRST to determine the depth of the cedar boxes. There are no inserts in the boxes protecting it from water. It will prove to be an issue two weeks from now.
Placement of the two end pieces of the boxes
• Dad and I disagreed on how the ends should butt up to the two long, front pieces of the boxes. I wanted the boxes to appear flush when viewing them straight on for a clean, crisp line, to make the boxes appear longer than they really were.
• He felt the two ends should be placed on the outside of the two long, front pieces so that the nails wouldn’t show from the front and he could more easily ensure the size of the end pieces would be flush from the top.
• Only after we built a box my way did I understand his suggestion. Too late now! Was Dad right or was I? We both were, but he had the experience and I appreciate him just letting me fail forward. Now I know for next time.
Screws vs. Nails
• For reasons I’ll explain later, we should’ve used screws. But we chose tiny finishing nails instead which visually looks great but may not hold up in the long run.
Building boxes with my Dad is a time I’ll never forget. Since having River, one-on-one time is hard to come by. It reminded me of when I “helped” Dad with projects growing up. He’s a patient, focused, kind man. I think of him every time I see the boxes we built together.
Soil prep is something I want to learn more about for the garden next year but I’m happy how we did it this year with guidance from my neighbor.
My personal essays on motherhood, art, and healing — right this way!


